Contest Gallery guides
Community setup guide
Build a WordPress community around shared content
Connect people through the things they contribute, then give them a profile and a way to stay in touch.
Start with something members can share
Choose the content your community has a reason to contribute: photographs from club activities, creative projects, gaming highlights or useful learning resources. Give those contributions a place to be browsed and discussed.
Members can introduce themselves through profiles, discover contributors in Participants and keep in touch through messages and confirmed friendships. These core functions are available in FREE and PRO.
1. Create a gallery for the community
Use a gallery created or copied with version 24 or later and retain its generated gallery page. Enable Member profile for the gallery view you want to use.
Place [cg_gallery id="123"] on your page when voting is part of the community. Use [cg_gallery_no_voting id="123"] when the content should be explored without voting. Replace the example ID with your gallery’s ID.
2. Choose member sign-in and uploads
The member area supports email PIN sign-in and configured Google Sign-In. Require registered-user uploads when entries should belong to identifiable members.
Configure the upload form around the contribution you want: file, title, description and appropriate categories. Decide which formats and sizes the gallery should accept.
3. Give members useful public profile fields
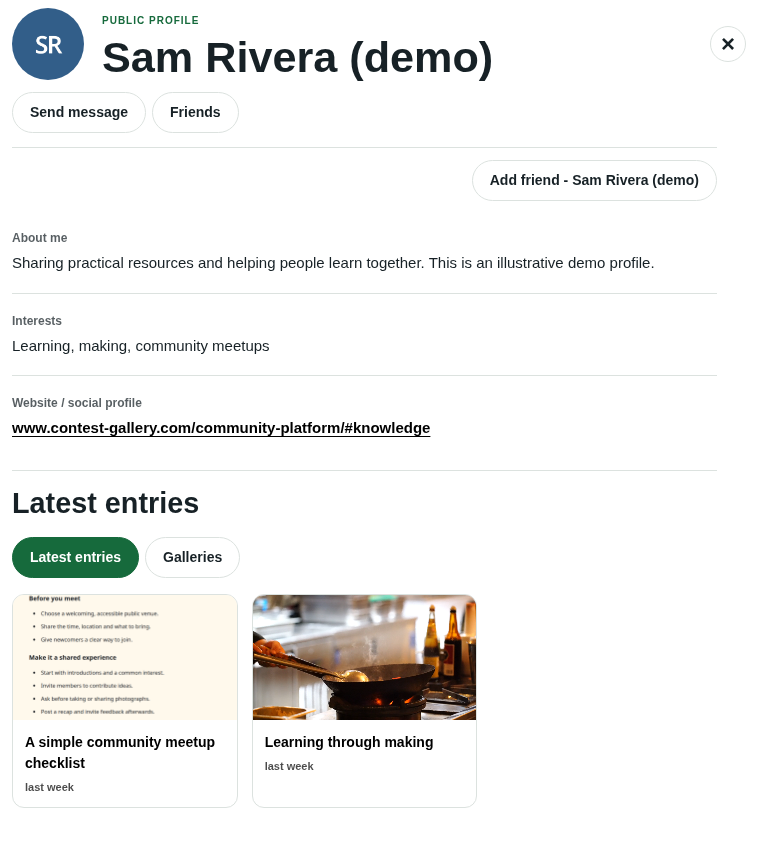
In the general registration form, add optional information such as About me, Interests and Website. Enable Show in public profile only for fields intended for public display.
Explain public fields to members and check which roles may edit additional profile information. Profile visibility and editing permission are separate choices. The member’s login details do not become public profile fields.
4. Choose publication and discussion rules
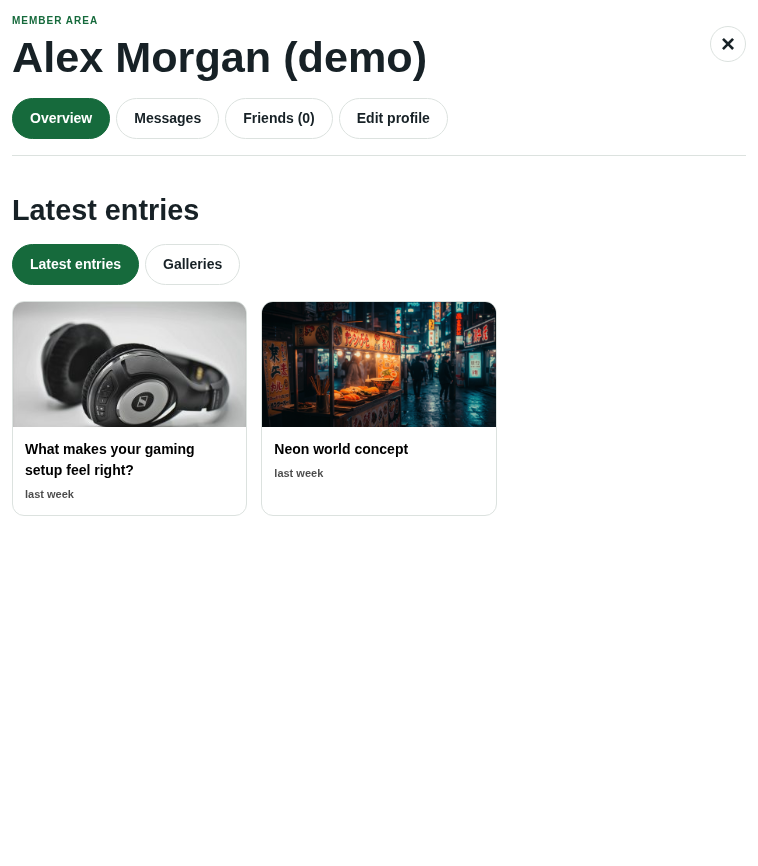
Publish frontend uploads automatically or review them first. With manual activation, members can see their pending submissions privately in My entries. Participants lists contributors with visible published entries.
Choose whether comments are public immediately or reviewed. Offer voting when it helps the community’s purpose. A gallery without voting works well for shared resources and ongoing projects.
5. Enable messages and friendships
Open Member notifications (general) and review Contact and friendships. This is a website-wide setting for private messages and friendship requests.
Members use their own Messages and Friends tabs, or open another person’s public profile to connect. Members can block unwanted contact. Administrators have a conversation overview and per-user communication controls.
6. Help members return
Choose whether new messages and friendship requests should send notification emails. These emails are disabled by default. PRO lets you edit their subjects and contents, including an optional short message preview.
Give the community page a clear link from your website navigation. Explain how people can edit their profile, return to My entries and find other contributors.
Add earning options when they fit the project
A community can start with free participation. Later, a curated submission offer or a gallery product can provide a specific paid option. Those are separate choices from the member profile and friendship features.
Community setup questions
Do I need PRO for profiles and friends?
No. The core member area, public profiles, private messages and friendships are available in FREE and PRO. PRO adds editable member email templates and additional advanced controls.
Will every registered account appear in Participants?
Participants is based on visible published contributions. Registration alone does not create an entry in the participant directory.
Does this create a forum or membership subscription?
This guide builds a community around profiles, gallery content, comments, messages and friendships. It does not add a forum engine or recurring membership billing.
Explore the member experience
Try the live community demo or follow the member setup reference for the relevant options.